How to Remove a Kwikset Deadbolt? Details Step-by-Step Guide
If your Kwikset deadbolt is stuck or stuck in place, follow these seven easy steps to learn how to remove Kwikset deadbolt quickly
Kwikset deadbolts are popular among homeowners but can be difficult to remove if you don’t know what you’re doing. Here are seven easy steps for removing a Kwikset deadbolt.
Generally, there are six main steps:
- Step 1: Examine the Lockset and Door
- Step 2. Remove the Thumb Latch from inside
- Step 3: Remove the Rose Plate
- Step 4: Remove the inside set screw and inside knob.
- Step 5: Remove the outside set screw and outside knobs.
- Step 6: Remove the latch assembly
Prepare Tooles to Remove the Kwikset Deadbolt.
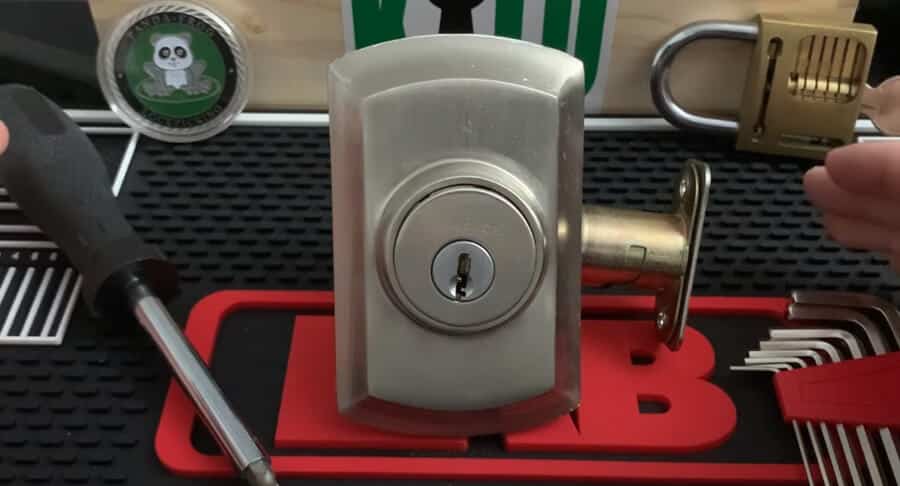
The tools you need to remove a Kwikset deadbolt vary depending on the model. The following tools should be sufficient for most Kwikset locks:
- Flathead screwdriver (to remove the cover plate)
- Philips head screwdriver or Allen wrench (for the screws inside)
- Awl with a sharp edge or point. You can use any steel rod that is small enough to fit into the lock and has a sharp edge (the sharper, the better). You could also use a nail if you don’t have an awl handy, but be careful not to damage the metal parts of your deadbolt as you try to remove it.
- The .05 Allen wrench will be used to remove screws from other parts of our security device; these screws are tiny but still sturdy enough for what we need today!
Ensure you have prepared your tools well and have the right ones for the job. If not, get them from a hardware store or home improvement center.
Ensure your work area is clean, safe, and free of clutter so that nothing can fall into your project area while working on it. Wear safety glasses and gloves before beginning any repairs or maintenance tasks around your home or office building.
Step 1: Examine the Lockset and Door
The next step is to examine your Kwikset deadbolt lockset. You should check both sides of the Kwikset deadbolt lock to see if there are any mounting screws visible on them.
- Kwikset deadbolts with thumb latches on the inner side usually have the mounting screws visible on the lockset’s inside part.
- The keyhole of your Kwikset lockset also needs to be checked to see if it has mounting screws.
Step 2. Remove the Thumb Latch from inside
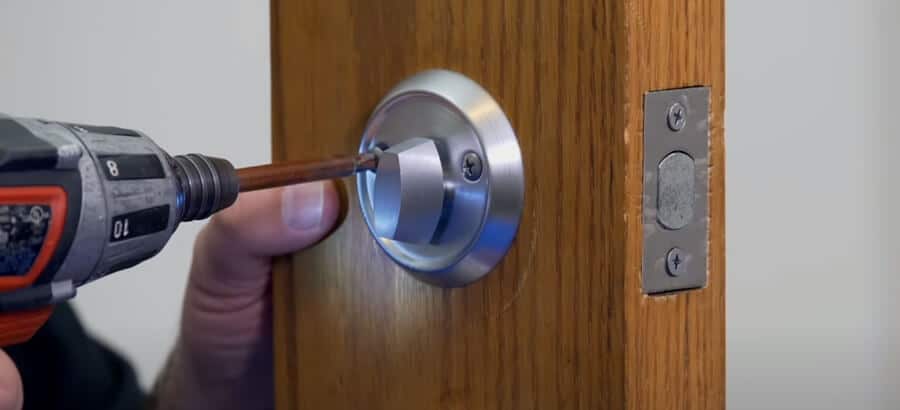
Now, you’ll need to remove the thumb-turner latch from the inside. This will allow you to easily remove the plate covering the screw and give you access to it.
- Use a flathead screwdriver or other tool to remove the latch from the inside.
- Please insert it into the hole where you see your thumb turner attached. You can use that same hole to push outwards on the latch itself until it falls off its post.
- You may be able to pry it out if there is some space between it and the door frame, but this can cause damage, so try not to do this unless necessary.
Please note:
- Some Kwikset deadbolt locksets have a plastic pin on the latch handle’s shaft that you must remove using a small pair of needle-nose pliers.
- A few models of Kwikset deadbolt locksets have a small metal pin that must be depressed to remove the latch handle.
- You may find a small set screws on the latch handle. In most cases, this set screw requires a .05 Allen wrench.
Step 3: Remove the Rose Plate
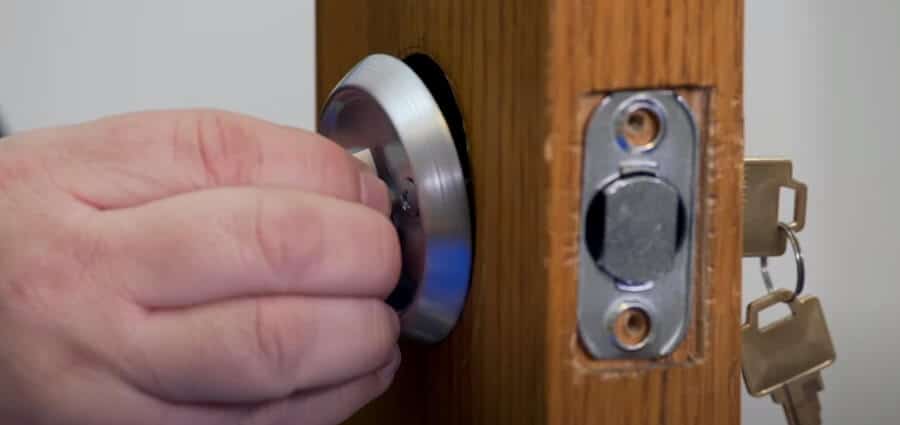
If your Kwikset deadbolt lockset has a rose plate to hide the mounting screws, look carefully at the plate:
- Remove the screws from around the rose plate with a screwdriver. There should be two screws on each side of the lock and one at the top center.
- Remove the rose plate from your Kwikset deadbolt by gently pulling it off, careful not to damage it or your door handle.
- The rose plate should have a small cut-out on the edge, allowing you to grab and pull it off. This part is held in place by friction, so don’t force it too much, or you will damage the lock.
Step 4: Remove the inside set screw and inside knob.
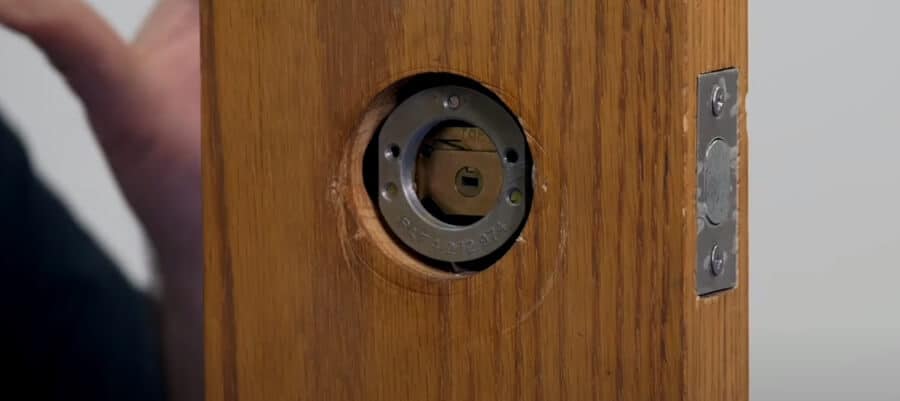
The next step involves removing the inside set screw and inside knob. Use a screwdriver to remove the inside knob by turning it counterclockwise until it comes off.
- Remove the inside set screw using a screwdriver to pry it out gently. Please don’t force it, and be careful not to damage the wood around it.
- Remove the inside knob by unscrewing the nut on top of it with your fingers or a pair of pliers.
- Ensure you don’t lose either part—they will be useful later!
Be careful not to damage the wood in your door or wall when removing this piece, as doing so can cause further issues with your deadbolt if it’s not installed correctly. Ensure you don’t lose the set screw; you’ll need it later when reinstalling your new Kwikset deadbolt assembly!
Step 5: Remove the outside set screw and outside knobs.
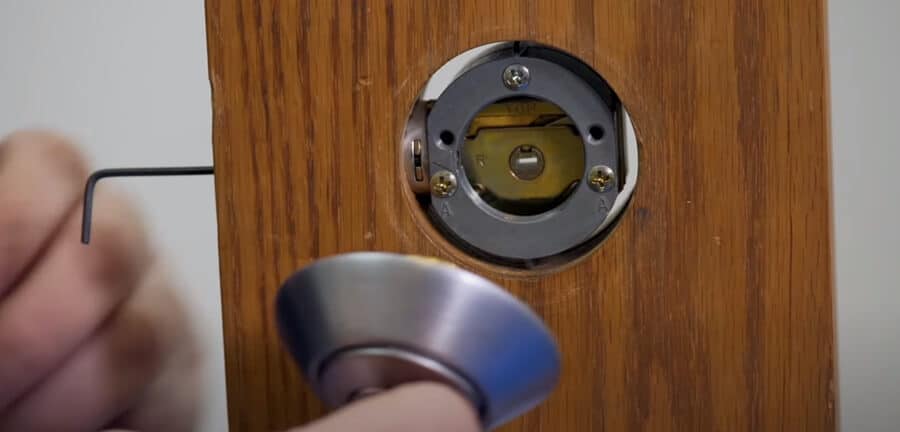
Next, you’ll need to remove the outside set screw and outside knobs. To do this:
- Remove the outside set screw and outside knobs. You can do this by using a flathead screwdriver or an Allen key if one is provided with your lock.
- Remove the inside hex-head set screw by turning it counterclockwise with an Allen wrench until you can see enough room to pull the outside knobs from its housing.
- If you cannot remove the outside knobs without damaging them, you will need to drill them out; however, be sure not to go too deep because you could damage your door frame or another part of your door if done incorrectly.
Please note: Step1- Step 6 are also used for Kwikset door handle or knob
Step 6: Remove the latch assembly
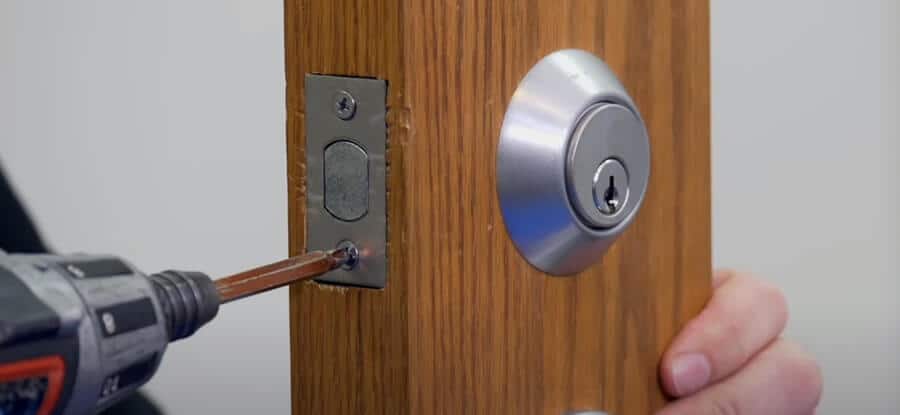
The latch assembly is the mechanism that holds the deadbolt in place. If you have a Kwikset deadbolt, this will be a separate piece from the inside cylinder and should come out relatively quickly.
- Look on the edge of your door. The latch assembly has two Phillips screws that hold the latch plate to the edge of the door.
- Use your Phillips screwdriver to remove the two screws in the latch plate.
- Pull the latch mechanism from the door and place it into your storage container.
- Remove the strike plate (aka striker plate or strike escutcheon). The strike plate is located on the wall near the door frame. You must remove this piece to install a new lock set like Schlage or Kwikset SmartKey locksets.
When removing it, keep track of any parts that may become dislodged—such as springs or screws—so they can be reattached later.
Also, you can check this video to know how to remove the Kwikset deadbolt clearly:
How to Remove Kwikset Deadbolt Without Screws?
What needs to pay attention to when removing the Kwikset deadbolt?
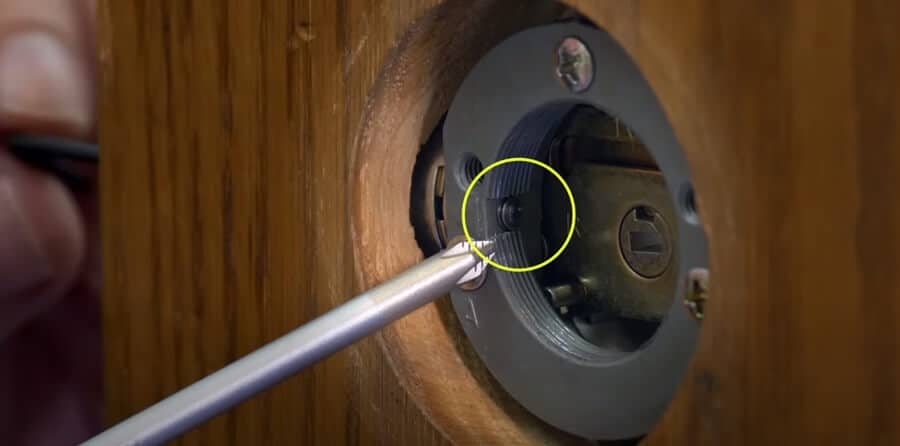
You need to pay attention when you want to remove the Kwikset deadbolt. Below are some valuable tips for removing the Kwikset deadbolt:
- The first step is to determine what type of cylinder lock you have. You can do this by looking at their keys or searching online for information about your model number and ensuring that it matches what’s written on your lock.
- Never use any power tool to remove the lock, especially if it’s not designed for this type of job (like your drill).
- Be careful not to lose the screws when removing them from the door and frame because they’re different sizes, and one screw may be longer than another (this will make reassembly difficult).
- Ensure you have the right parts – If your deadbolt has seen better days, chances are good that it will need to be replaced entirely (or at least some components). If that’s the case, be prepared to buy them from whatever store carries them in your area before beginning this process!
- When removing Kwikset deadbolts, keeping your workspace clean is essential so no pieces fall off into places where they can get lost forever (or worse).
- The Kwikset deadbolt is designed to require minimal maintenance. Do not use harsh chemicals or solvents to clean your lock. Use a damp cloth to wipe away any excess dirt or debris. Use a dry cloth to clean interior components.
Conclusion
Kwikset deadbolts are a significant upgrade to your home security. They’re easy to install, use, and maintain, but they sometimes have problems with locking mechanisms that need fixing.
Luckily, we’ve got you covered with simple step-by-step instructions on removing the Kwikset deadbolt if it gets stuck or jams up in place.

